The advanced workflow
If you're a more experienced developer, you'll be happy to hear that the source files are available so you'll be able to use those to compile and deploy production files much easier.
The advanced file structure
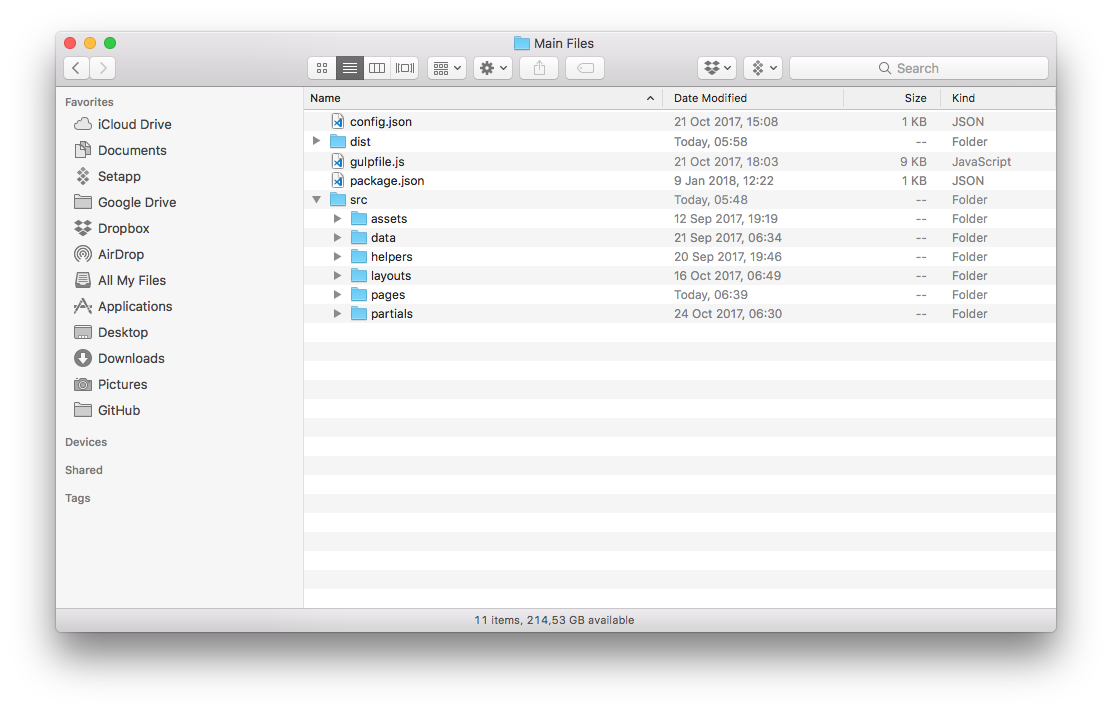
After downloading Ascension and unpacking the archive, the Main Files folder will look like this (Fig. 1):

The folder you need to use in the advanced workflow is called src (short for source). The contents are as follows (Fig. 2):
Additionally, you'll need the following files:
config.json- configuration file for Gulp.gulpfile.js- the main Gulp file.package.json- a list of all NPM dependencies and project information.
The Gulp workflow
This advanced workflow is the same one I'm using for developing my themes and it's based on Gulp. Go ahead and open the gulpfile.js and have a look at all the tasks to learn the ins and outs of the workflow. For your convenience, here's the full list of tasks and their description:
| Task | Description |
|---|---|
reset |
Deletes the dist folder so the build can start fresh. |
copy |
Copies the necessary files from src to dist. |
pages |
Compiles Handlebars templates with Panini. |
server |
Creates a server with BrowserSync and watch for file changes. |
sass |
Compiles Sass to CSS. |
js |
Concatenate and minify JS. |
lint-js |
Check JS code for errors. |
sprites |
Creates sprites from SVG files. |
img |
Compresses images. |
ftp-deploy |
Deploy to FTP. |
build |
Creates the dist folder by compiling all assets. |
default |
Runs the build and server tasks detailed above. |
deploy |
Runs the build and deploy tasks detailed above. |
I also created 3 handy custom npm scripts that allow you to pass parameters to the gulp file:
| Script | Description |
|---|---|
start |
This simply runs the gulp command. |
build |
This is used to create the production folder by passing the --production flag. This runs gulp build --production. |
deploy |
This is used to create the production folder by passing the --production flag and also connects to an FTP server and uploads the files. This runs gulp deploy --production. |
These custom scripts can be found and changed inside package.json. The workflow can be configured from the config.json file where you can edit paths, BrowserSync server settings, Panini paths, Autoprefixer options and FTP connections details.
Working with Panini
I'm using the Panini plugin to take advantage of Handlebars templating. The HTML files are split in layouts, pages and partials. A layout is like a master template. The pages are the ones being generated in the end. Partials are bits of reusable code you can include in any page.
Here's a quick look at the Panini folder structure (Fig. 3):
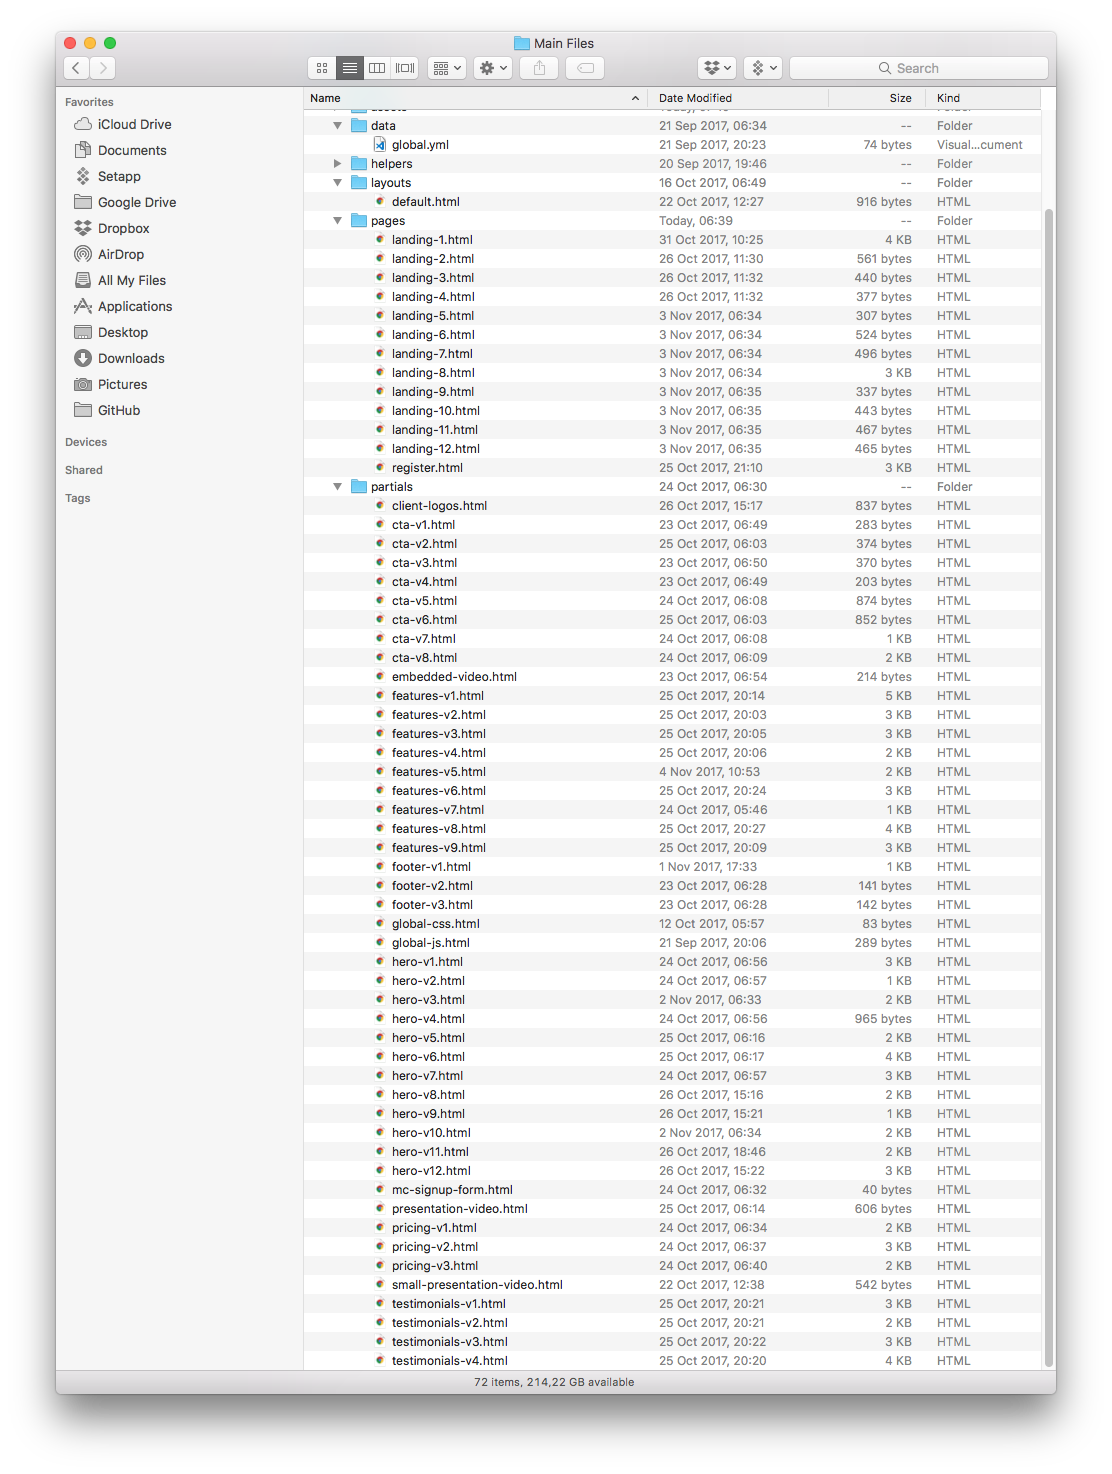
You can use this system to quickly build pages by including partials. Here's a simple example of how to code a page using a hero, a section with features and a footer:
						                    ---
page-title: Landing test
page-description: The page description goes here
color-scheme-class: color-scheme-1
font-pair-class: font-pair-1
---

<!-- HERO. -->
{{> hero-v1}}


<!-- FEATURES. -->
{{> features-v4}}


<hr class="thick short">


<!-- FOOTER. -->
{{> footer-v1}}
In this case, the page will load the following files: hero-v1.html, features-v4.html, footer-v1.html, all found within the partials/ folder.
The variables at the top of the page serve as additional information and should be included in every page you create. With them you can declare the page title (which will be put in the title tag), the page description (which will be put in the description meta tag), the chosen color scheme and font pair (which will be loaded as separate CSS files along with the main stylesheet).
Panini also uses the data/ folder to store a global.yml file that contains the website title and author. Configure these to match your own project.
						                    # GLOBAL.yml
---
website-title: Ascension Landing Page
author: Adi Purdila
A note on {{root}}
Panini uses the {{root}} helper to properly render file paths. Whenever you're referencing a file, no matter what type, you need to put {{root}} in front of the path, like the example below. This will make sure you always get the correct path.
<img src="{{root}}assets/img/placeholder/placeholder-image-800.jpg" class="center" alt="Icon">
Working with Sass
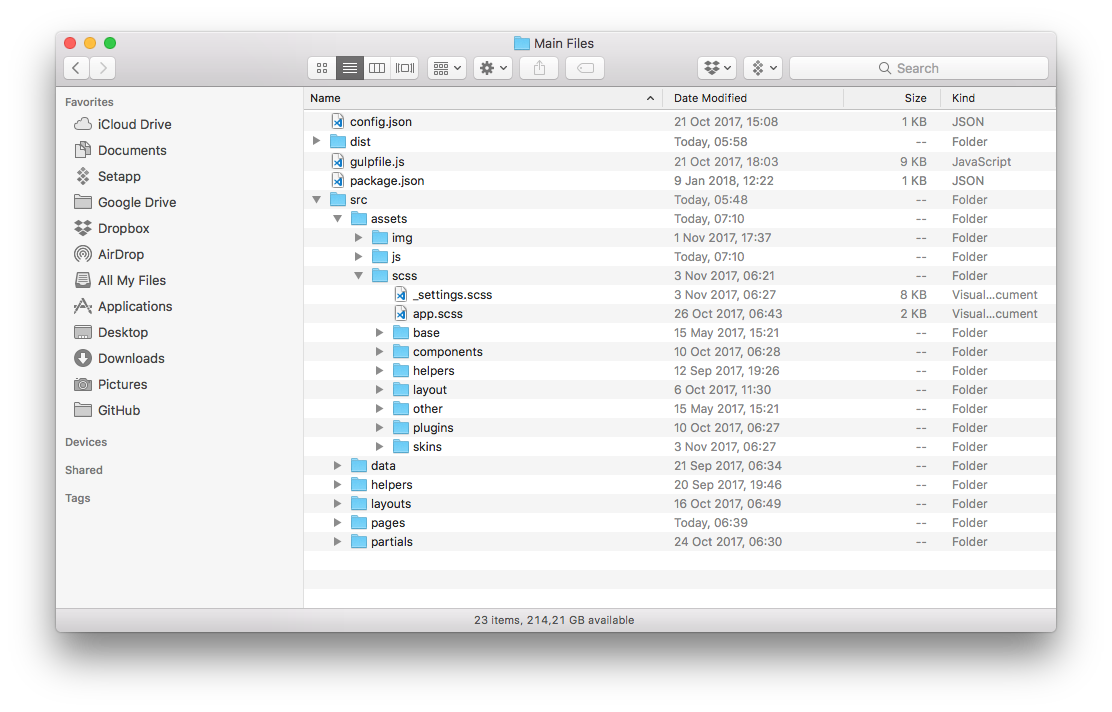
I'm using Sass to write all the CSS. All the relevant files can be found in src/assets/scss/. There (Fig. 4) you will find a settings file that contains all the variables used in the project, the main app.scss and a bunch of Sass partials for styling every aspect of the template.
Simply edit any of these files and make sure you compile them using the gulp sass task or after you've started the Browsersync server. If you execute the gulp command, all files are being watched for changes and will be compiled if necessary.
How to use the Gulp workflow
If you've worked with Gulp and NPM before then I'm sure you know your way around the command line. Just in case you need a reminder, here's what you need to do to get started using this advanced workflow:
- First, make sure you have Node.js installed on your system. Instructions can be found on the official website.
- Open a terminal window.
- Navigate to the root of your working folder (the folder that contains the package.json file).
- Execute the following command in the terminal:
npm install. This will download all the dependencies found inpackage.json. Depending on your computer and Internet speed, this might take a few minutes. - If everything was downloaded and installed properly, you should now be able to use the workflow by typing
npm run startorgulpin the command line.
Tip: If you're using the Visual Studio Code editor, you don't need an external terminal since the editor has one built-in. If you're looking for a fancier terminal than the default OS one, check this out.