How to use and customize an existing template
This page explains how to find a template you like and customize that to your liking. It covers both basic and advanced methods.
Using the basic workflow
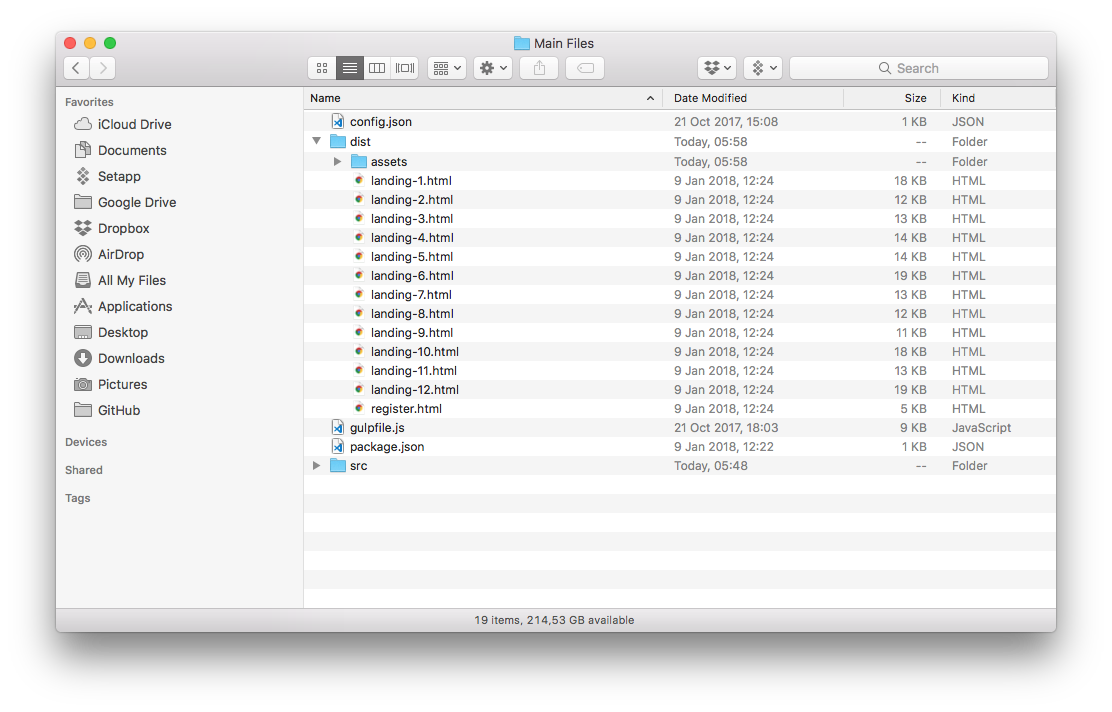
In order to get started, you must first find a template you like. For that, the easiest way is to check out the official demos. The HTML files you received (Fig. 1) have the exact same structure as the demos, but contain placeholder images due to copyright limitations.
Once you found a template you like, do the following:
- Rename that file to
index.html. - Open the file in your code editor of choice.
- Make any changes you see fit and preview the final result in a browser.
- Make sure you're also changing the information contained in the
headportion of your document: title, description and author. - Once you're happy with the result, upload that HTML file along with the
assets/folder to your live server.
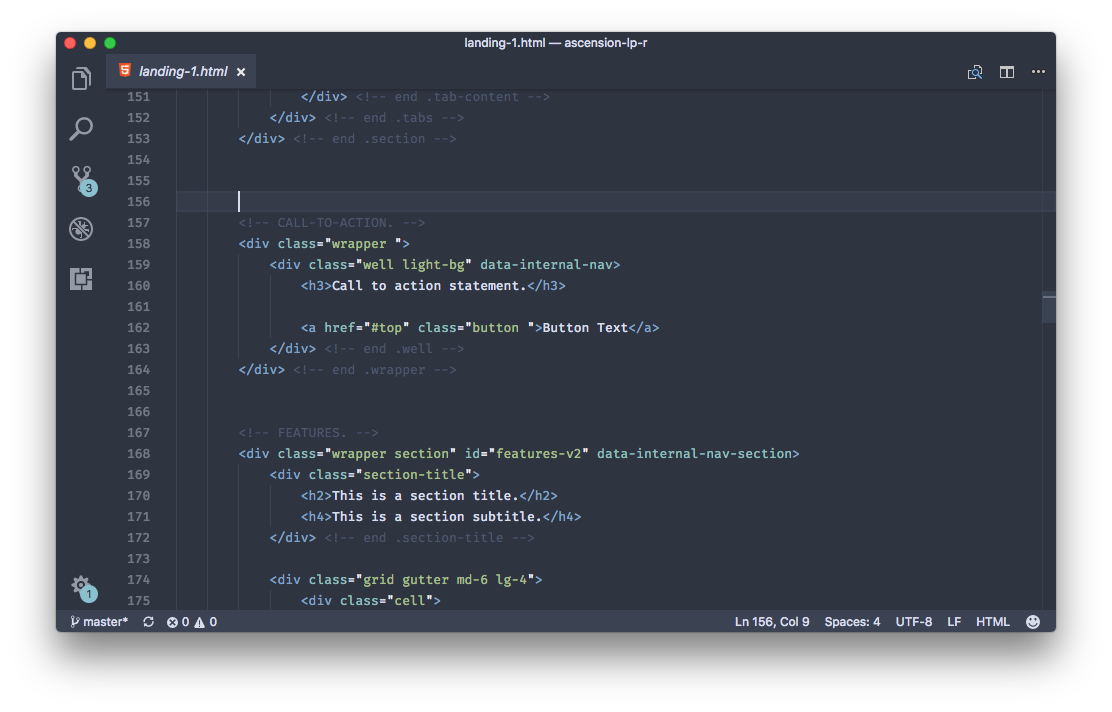
Tip: The markup for all pages is written in a modular fashion so you can mix and match sections to your liking. Each major section/module starts with a comment (Fig. 2). I'm doing this to divide the code into manageable chunks.
Using the advanced workflow
The advanced workflow gives you more flexibility when customizing an existing template. If you don't know how to get started, check out the dedicated documentation page. Then, here's what you need to do:
- Find a template you like by checking out the demos.
- Find that template under
src/pages/. - Rename that file to
index.html. - Make the necessary changes as you see fit. You might need to edit partial files.
- To get the best experience, execute the
gulpcommand in the terminal. This will watch and compile HTML files and you can see the results live in the browser. - Once you're happy with the result, execute
npm run buildto create the production files and copy only the ones you need to the live server. - Alternatively, use the
npm run deploycommand to build the production files and upload them automatically to your server.